
Get started
Quickstart
Go live with AIEngage in four steps: workspace, channels, tracking, and your first campaign.
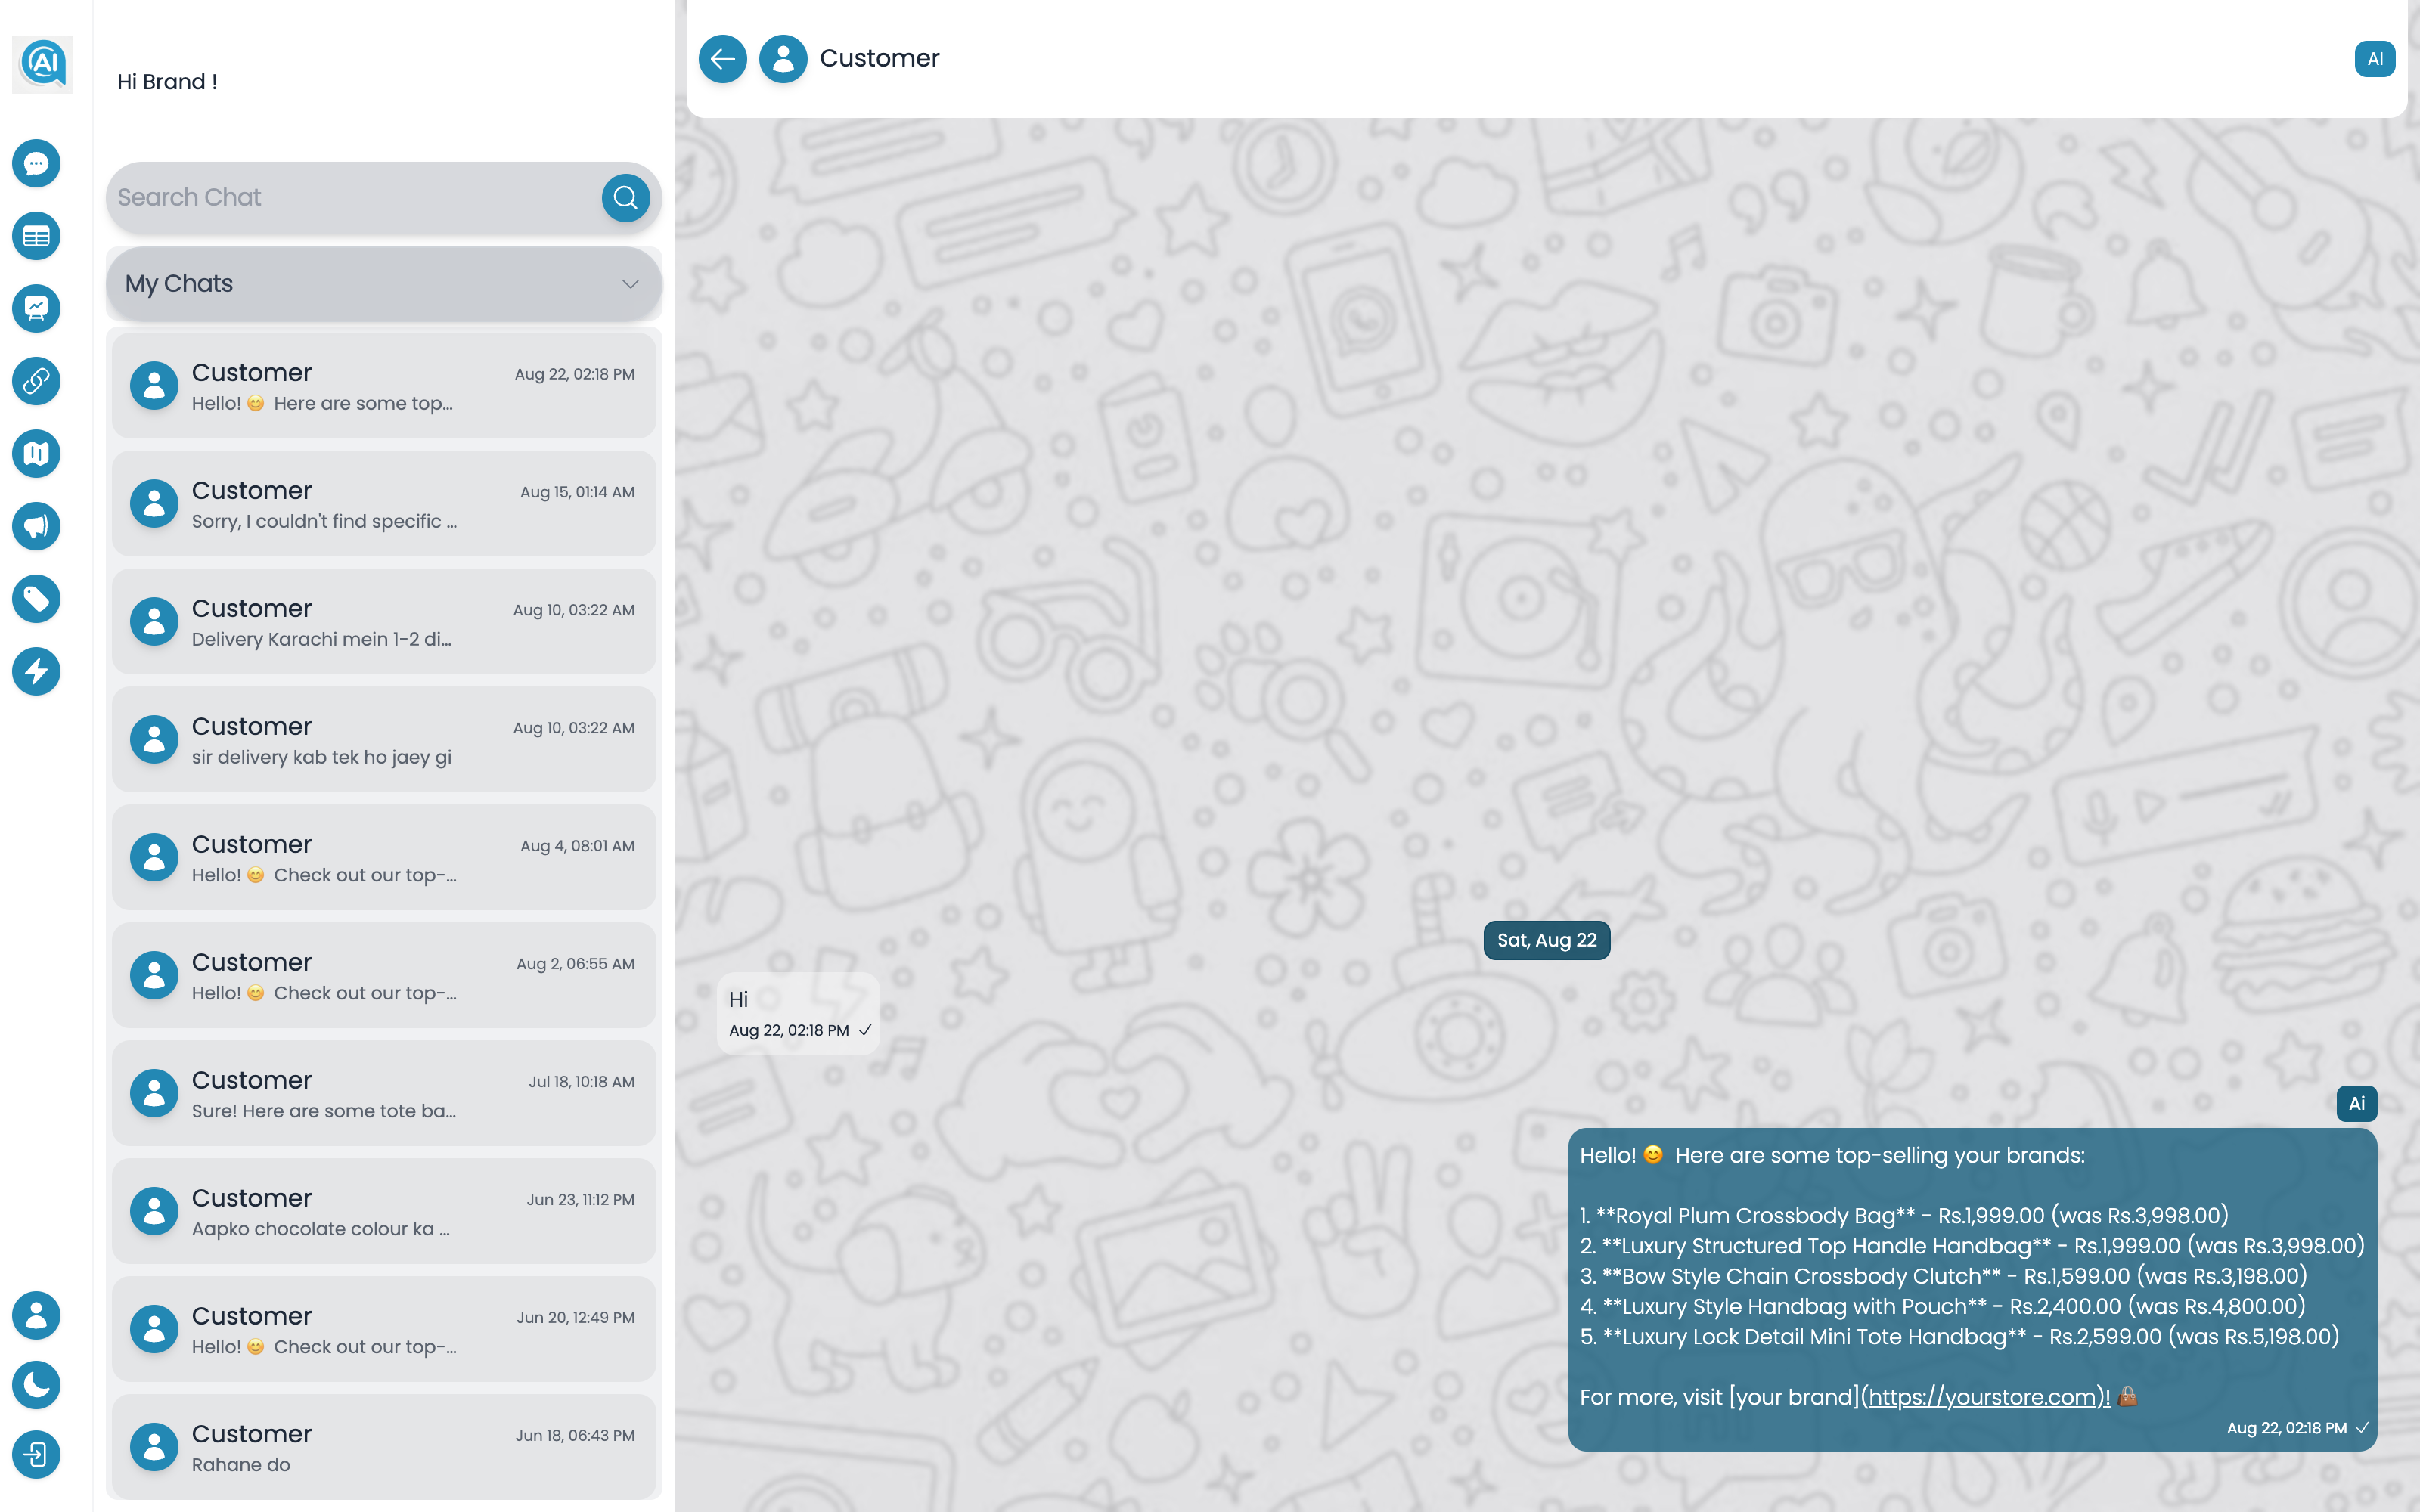
What you will set up
AIEngage is a full customer engagement platform. This guide gets a new workspace ready to send campaigns and receive conversations.
- Create a workspace and invite your team
- Connect WhatsApp, Email, SMS, and the storefront tag
- Install tracking so profiles and events start flowing in
- Launch a first campaign or conversation flow
1. Create your workspace
Sign in at product.genaiengage.com and create a workspace for your brand. Workspaces isolate data, channels, and teammates. Invite marketing, support, and developers with the right roles before you connect production channels.
2. Connect channels
Open Settings → Channels. Add WhatsApp Business credentials, email sending domain, SMS provider, and the storefront snippet for Web Push, on-site popups, and chat. You can start with one channel and add the rest later—audiences stay shared.
3. Track customers
Install the AIEngage tag on Shopify or WordPress, or send events with the API. At minimum, identify users and track View Page, Add to Cart, and Purchase so segments and triggered campaigns have something to act on.
4. Send the first campaign
Create a segment (for example, cart abandoners in the last 24 hours), pick a channel, compose the message, and schedule or trigger it. Open Analytics to confirm delivery and conversion.